
To manage your member tags, complete the following steps.
- Go to the Member page at Members > Members.

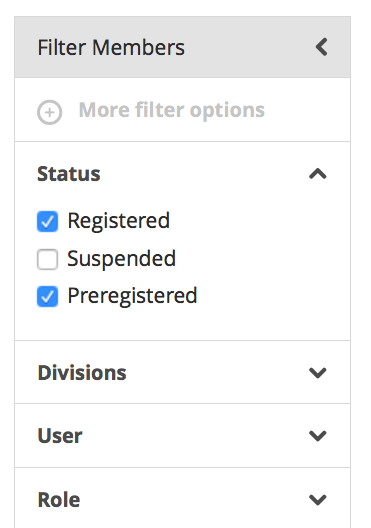
- In the Filter Panel, click More filter options.
- In the Select Filters window, click the down caret for User Settings and select the Tags check box.
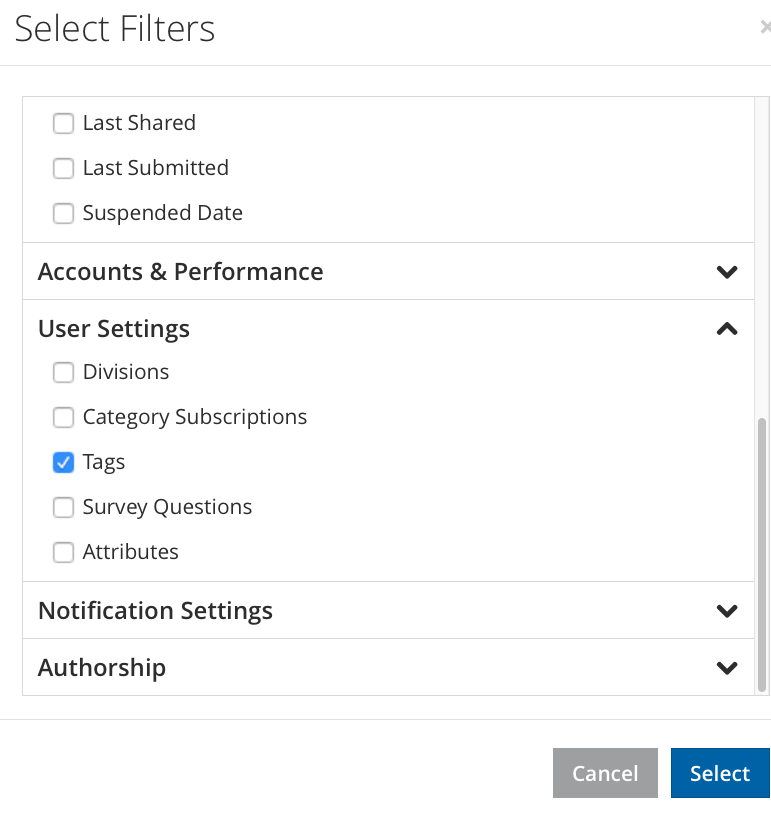
- Click Select and the Tags region will appear in your Filter Panel.
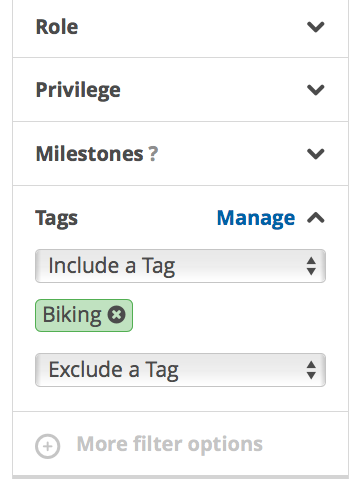
- In the Tags region, click Manage.
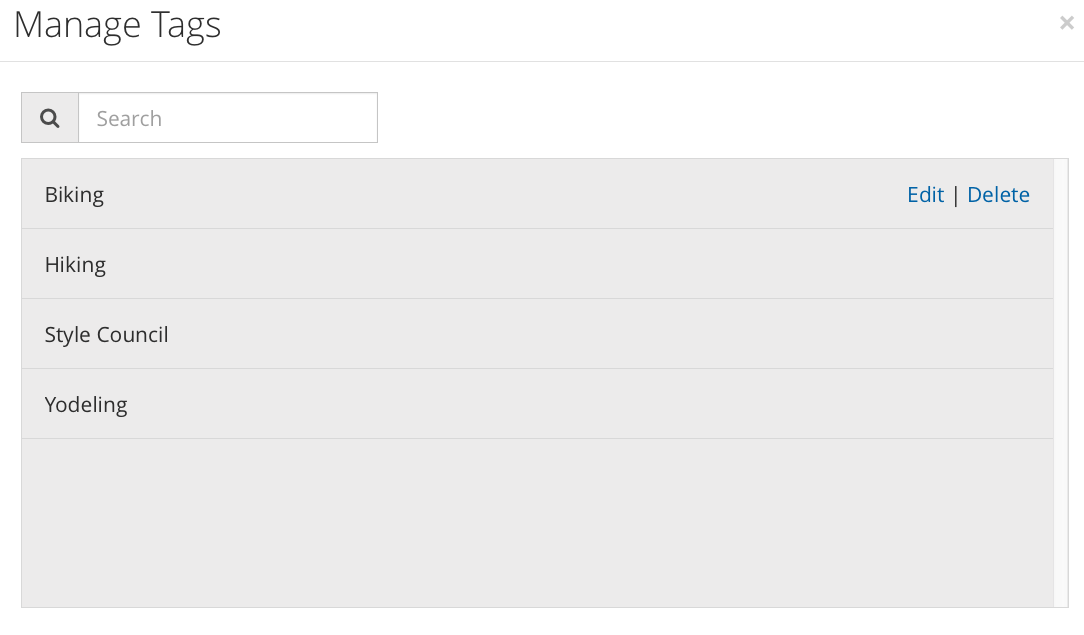
- In the Manage Tags window you will see all the Tags currently in the platform. Use the Search field to search for a specific tag. To add a new tag, enter the tag name in the Add a Tag field and click Add.You can edit or delete a tag by hovering your cursor over the tag and clicking Edit or Delete.
note
When your delete a member tag or attribute from the Members page, that tag or attribute is permanently removed from the platform. Ensure that you do not want to use the tag or attribute again before deleting it. Only managers of a community can delete tags or attributes. If manager permissions are enabled in your community, you must have Global Manager access to manage member tags.tip
Once the Tags region has been added to your Filter Panel, you can use it to quickly identify all members who have a specific tag.