
You assign or edit divisions in the Member page by completing the following steps:
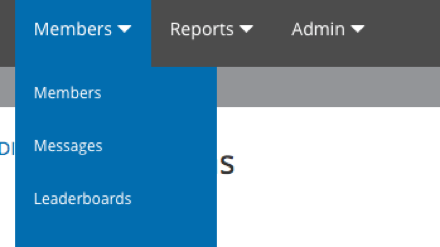
- Go to the Members page at Members > Members.
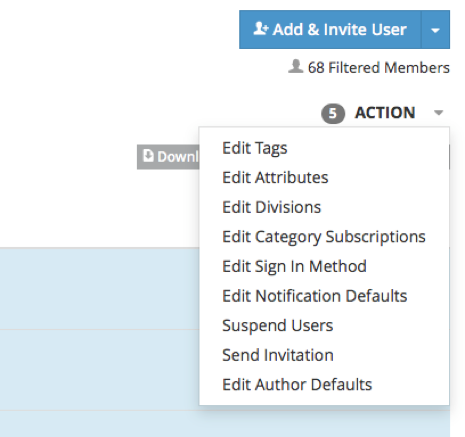
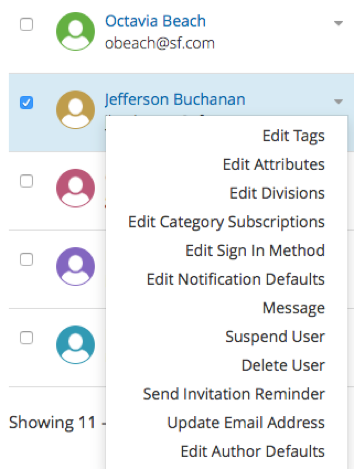
- In the Members page, select the member you want to assign or edit divisions for from the Member List and from the Action dropdown menu on the upper far right of the Members page (or directly from the Arrow dropdown menu beside any individual member), select Edit Divisions.
- From the Add Divisions dropdown menu, select the division you want assigned to your members. After you select the division, a tag will appear under the menu with the Division name assigned. Optionally, you can add more divisions. You can also edit divisions by adding or removing them using the Add or Remove Divisions dropdown menus.
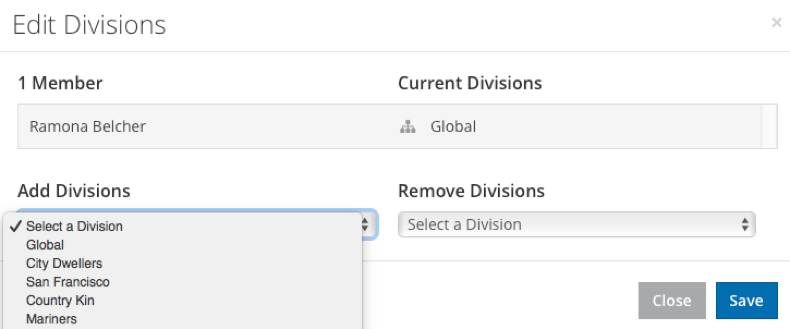
- Click Save. The divisions you have assigned will appear beside the members’ names in the Division column of the Member List.
