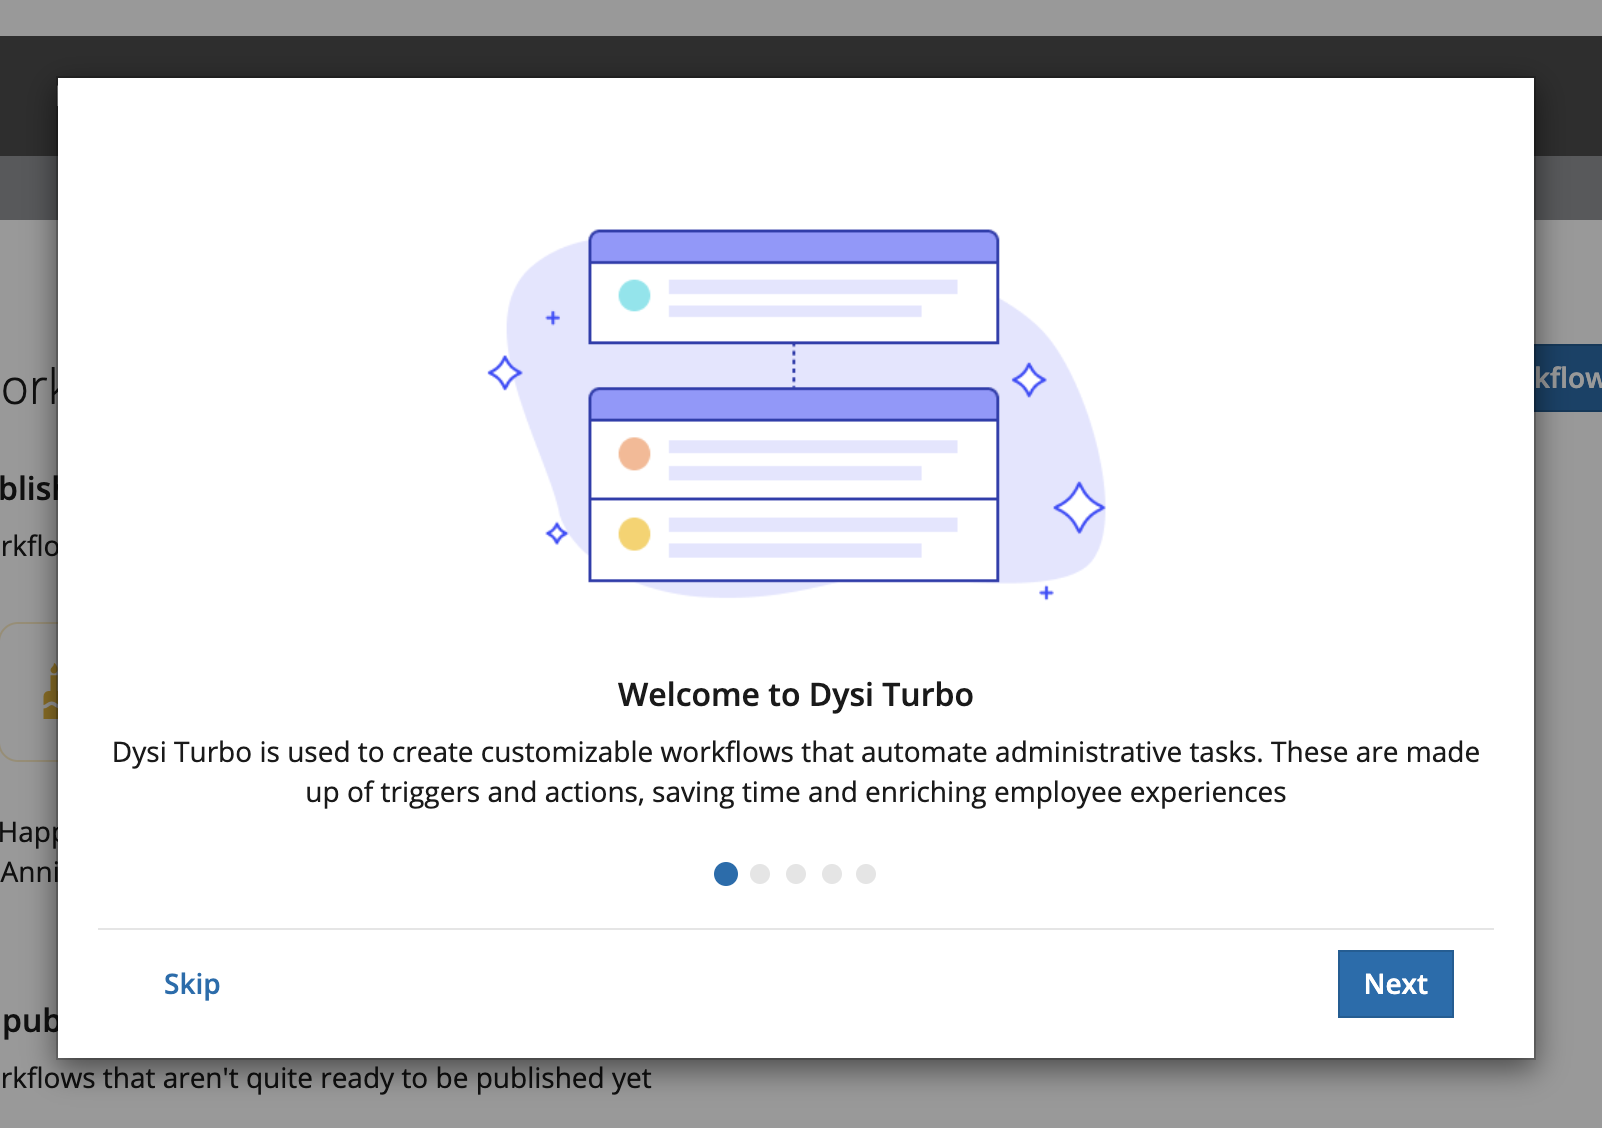
You may be wondering what Turbo automation is and what it can do?
At a high level, in the platform you can use it to create workflows to listen for, evaluate, and output user-related data, according to the rules that a user has configured. (we will provide a working example later)
Ultimately, enhancing employee's experience and providing a way to reach members at scale.
Navigating DySi Turbo:
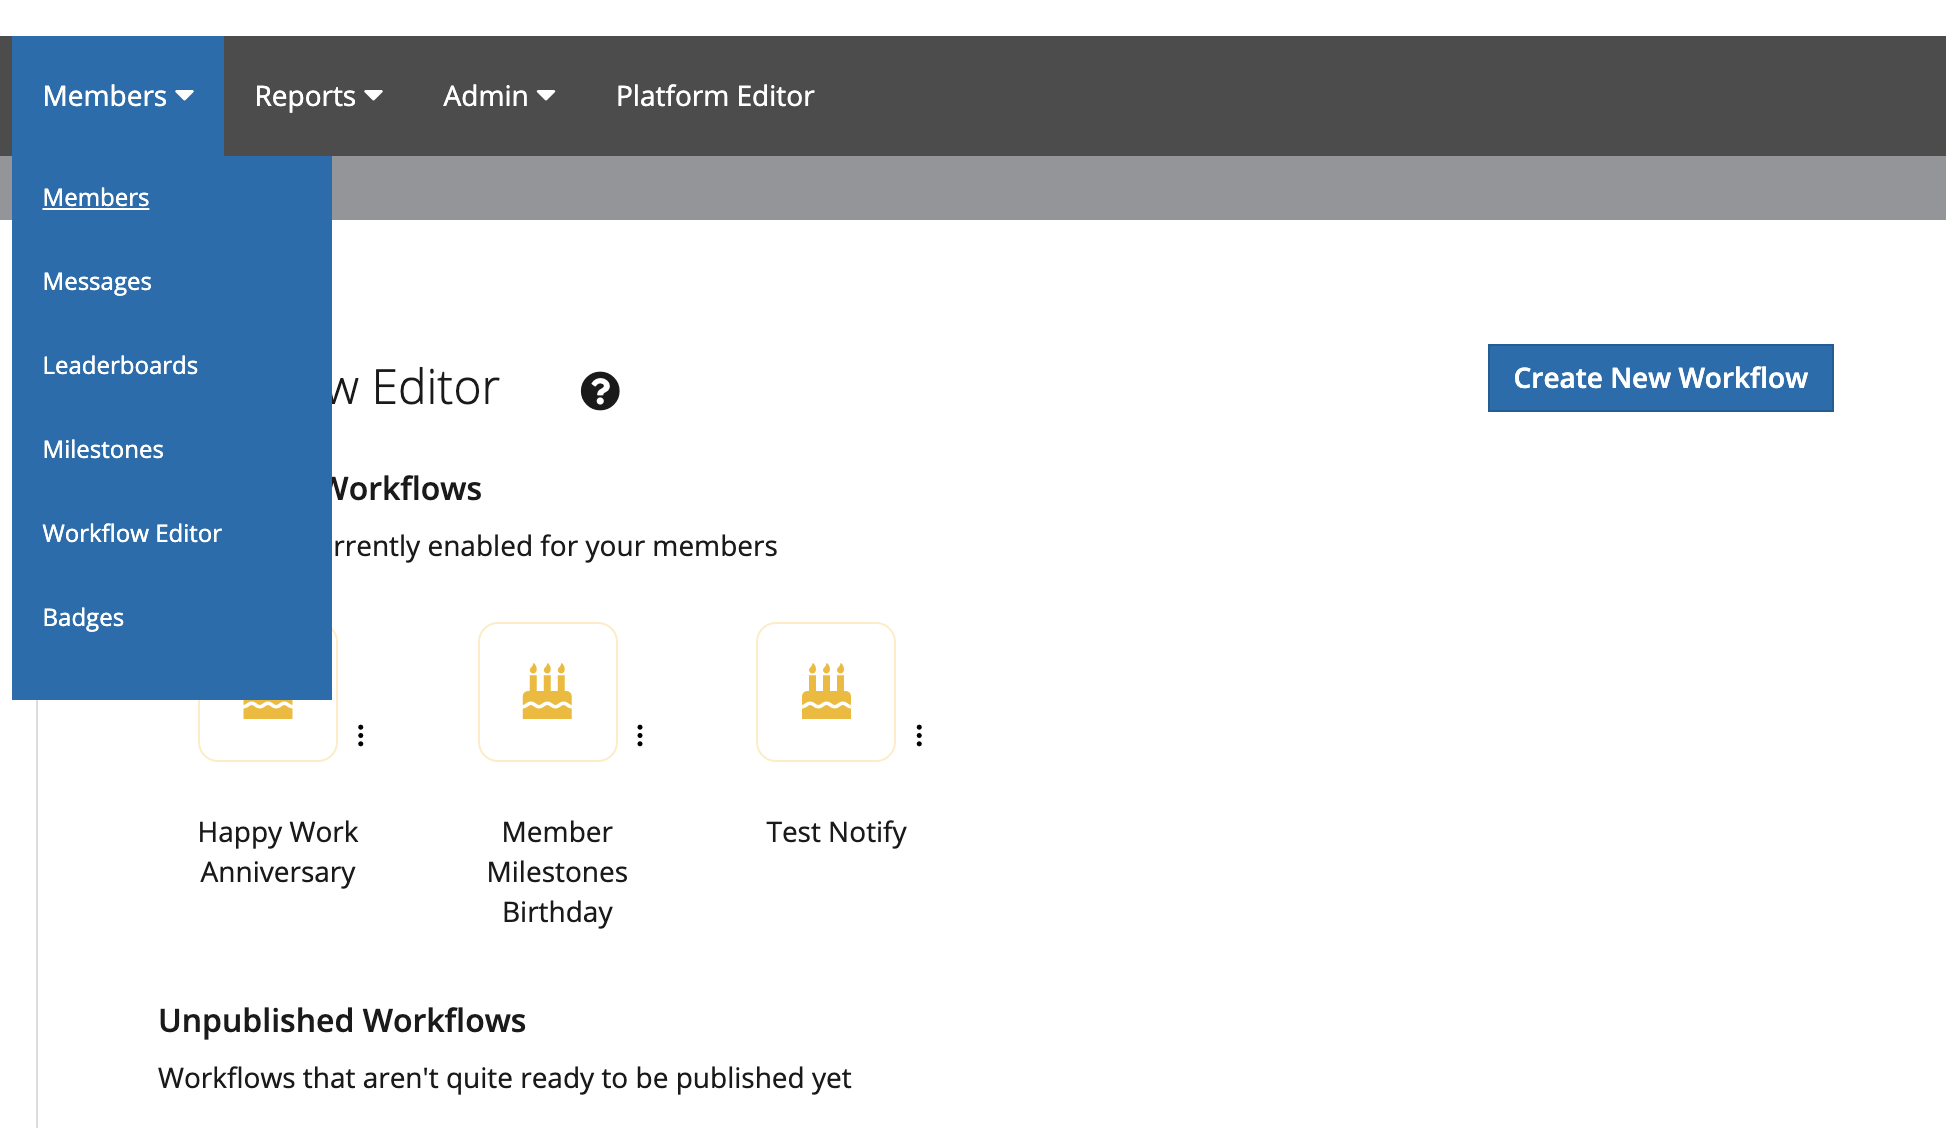
If you are a Global Manager and Workflows are enabled, you can navigate from Members> Workflow Editor to the Workflow Home screen in the Manager App
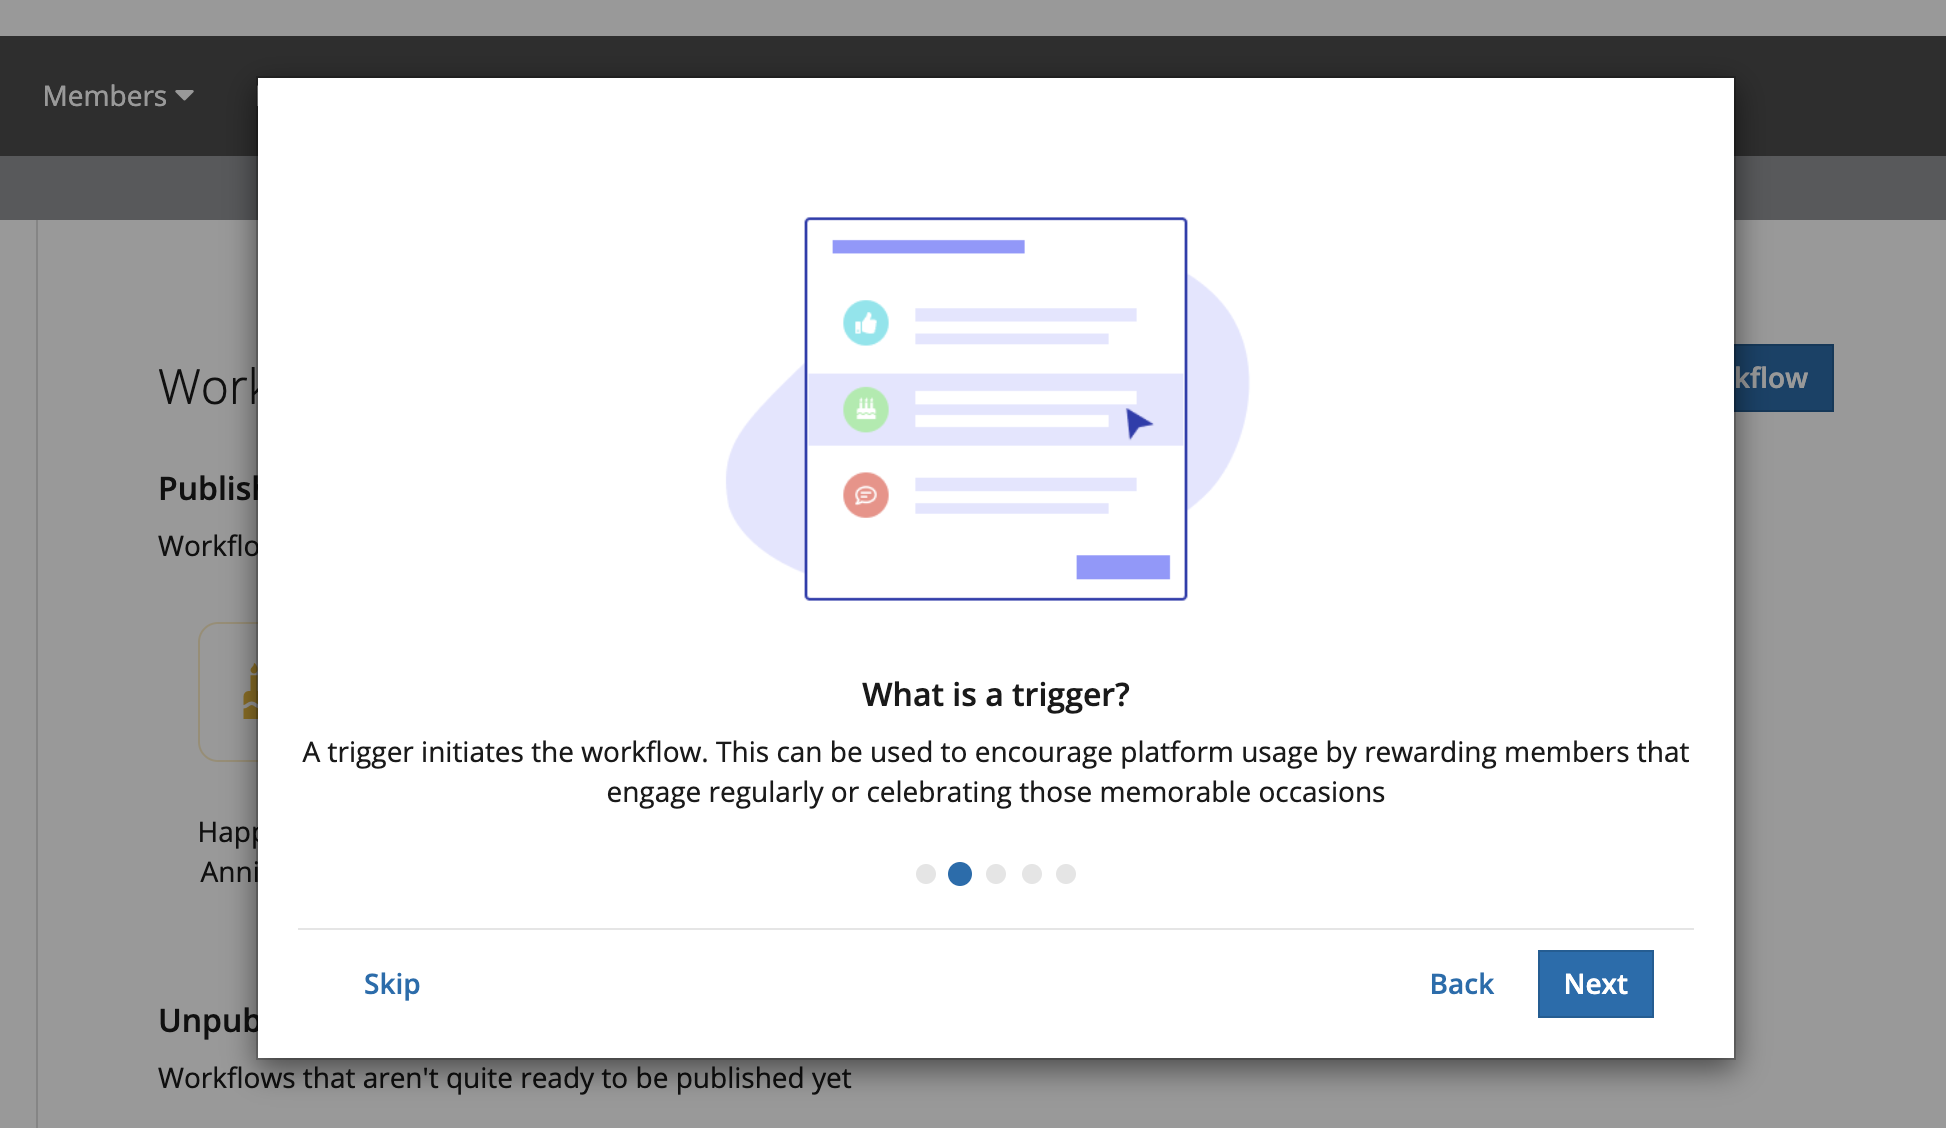
Workflows are created by adding 'triggers' & 'actions'
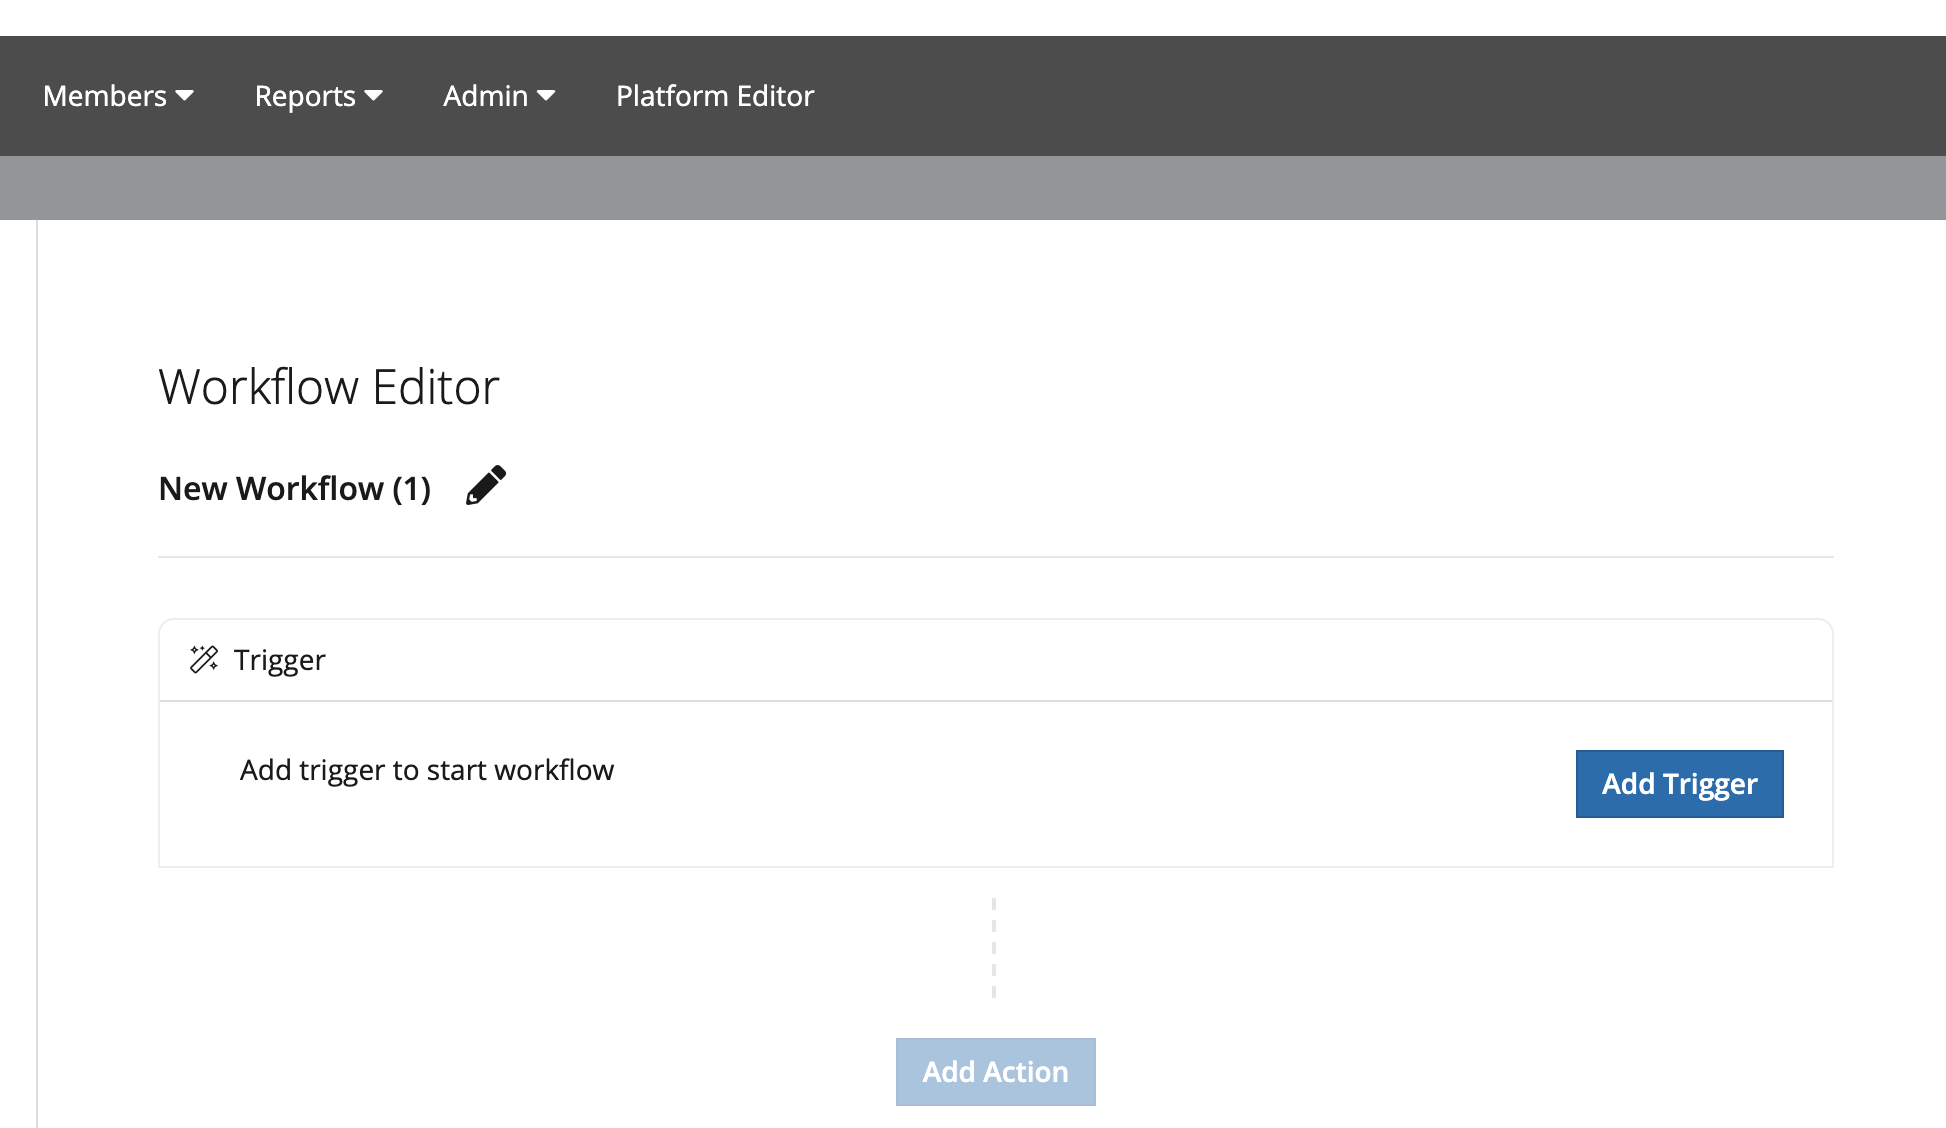
To create your first workflow click the ‘create new workflow’ button on the DySi Turbo home screen.
From here you will be navigated to the Workflow Creation Screen, click ‘Add Trigger’
In Turbo V1, there are two Triggers that can be configured in Dysi Turbo
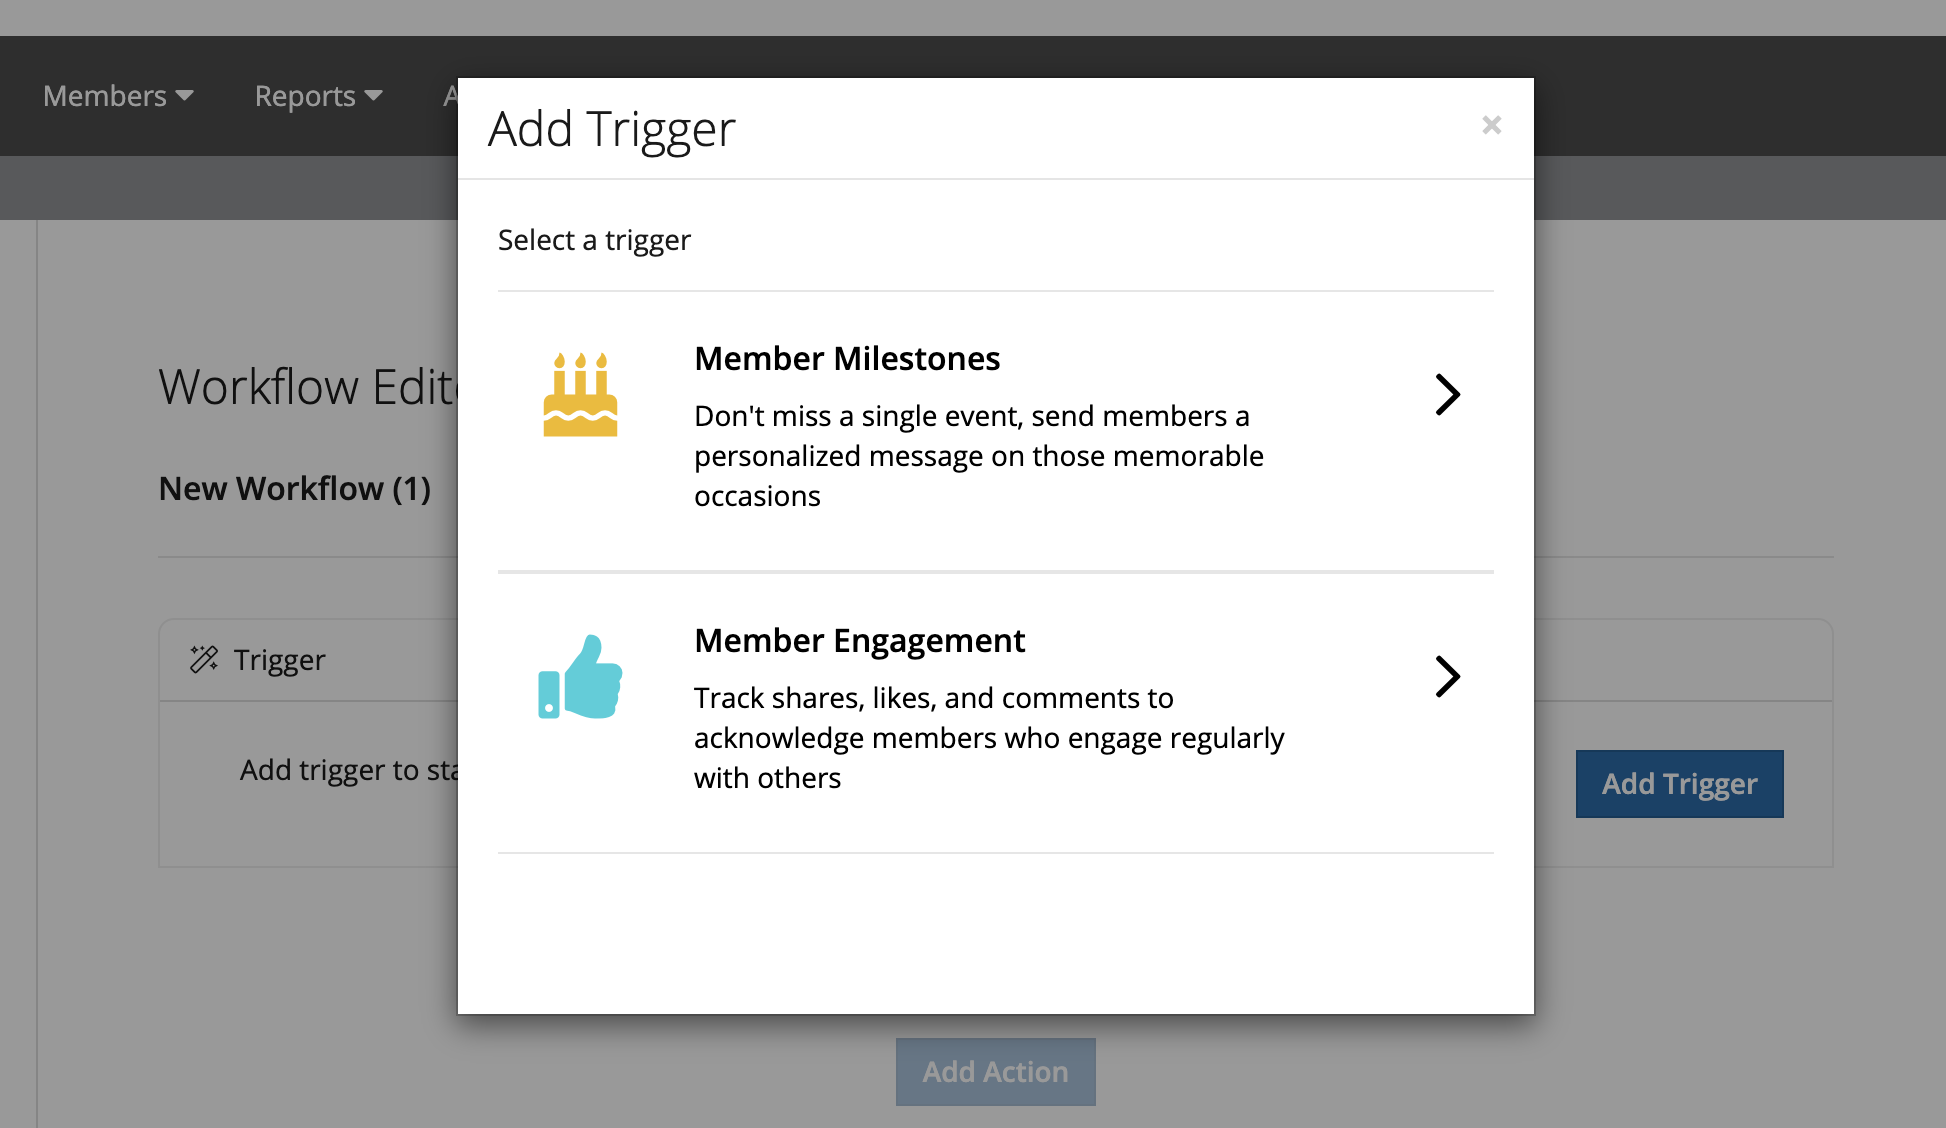
- Member Milestones – this trigger tacks and awards users based on their work or birthday anniversaries.
- Engagement Trigger – You can configure your engagement trigger to react when members in your platform like comment and share a post – this can also be set by a specific time frame and filtered by targets set up in the community.
Here's some more detail:
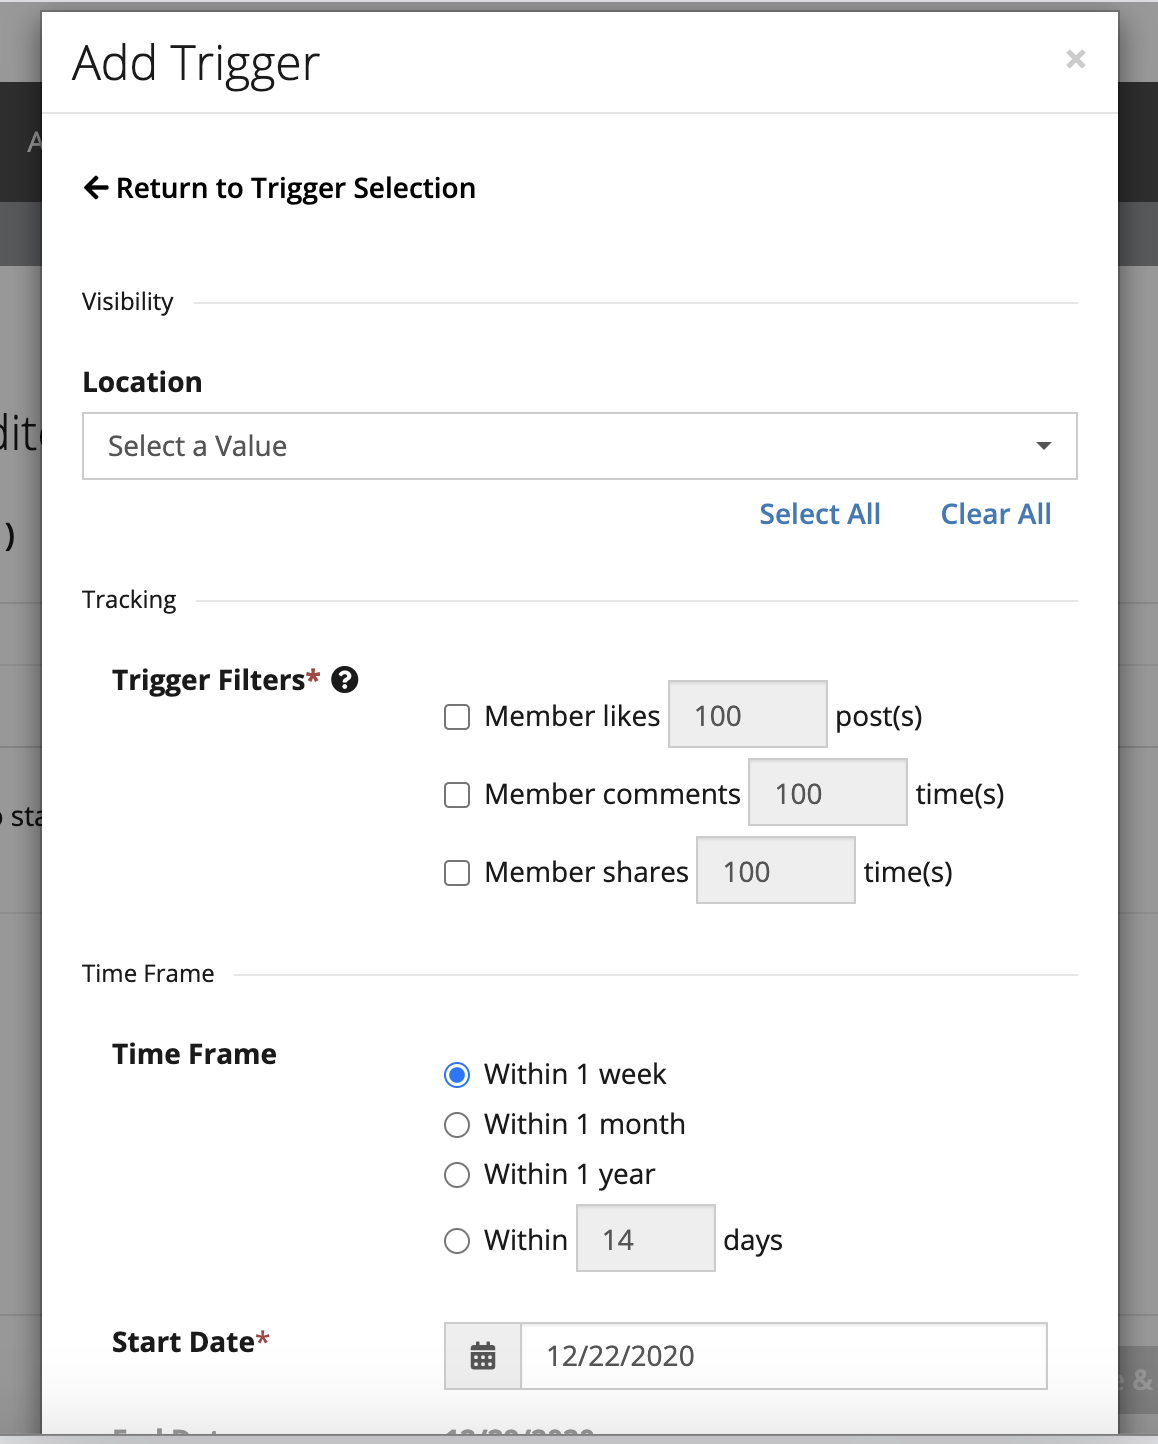
- Engagement Trigger parameters – you can filter the engagement trigger target user/s by the following ways:
- Target – you can select a target or multiple targets of users within your workflow
- Trigger Filters - you can specify the number of likes, comments, and shares that a user must complete in the platform before your trigger is satisfied
- Time Frame – you can select a specify a time frame within which your trigger is active
- Start/End Date – the start date can be configured and the end date is based off the time frame you select
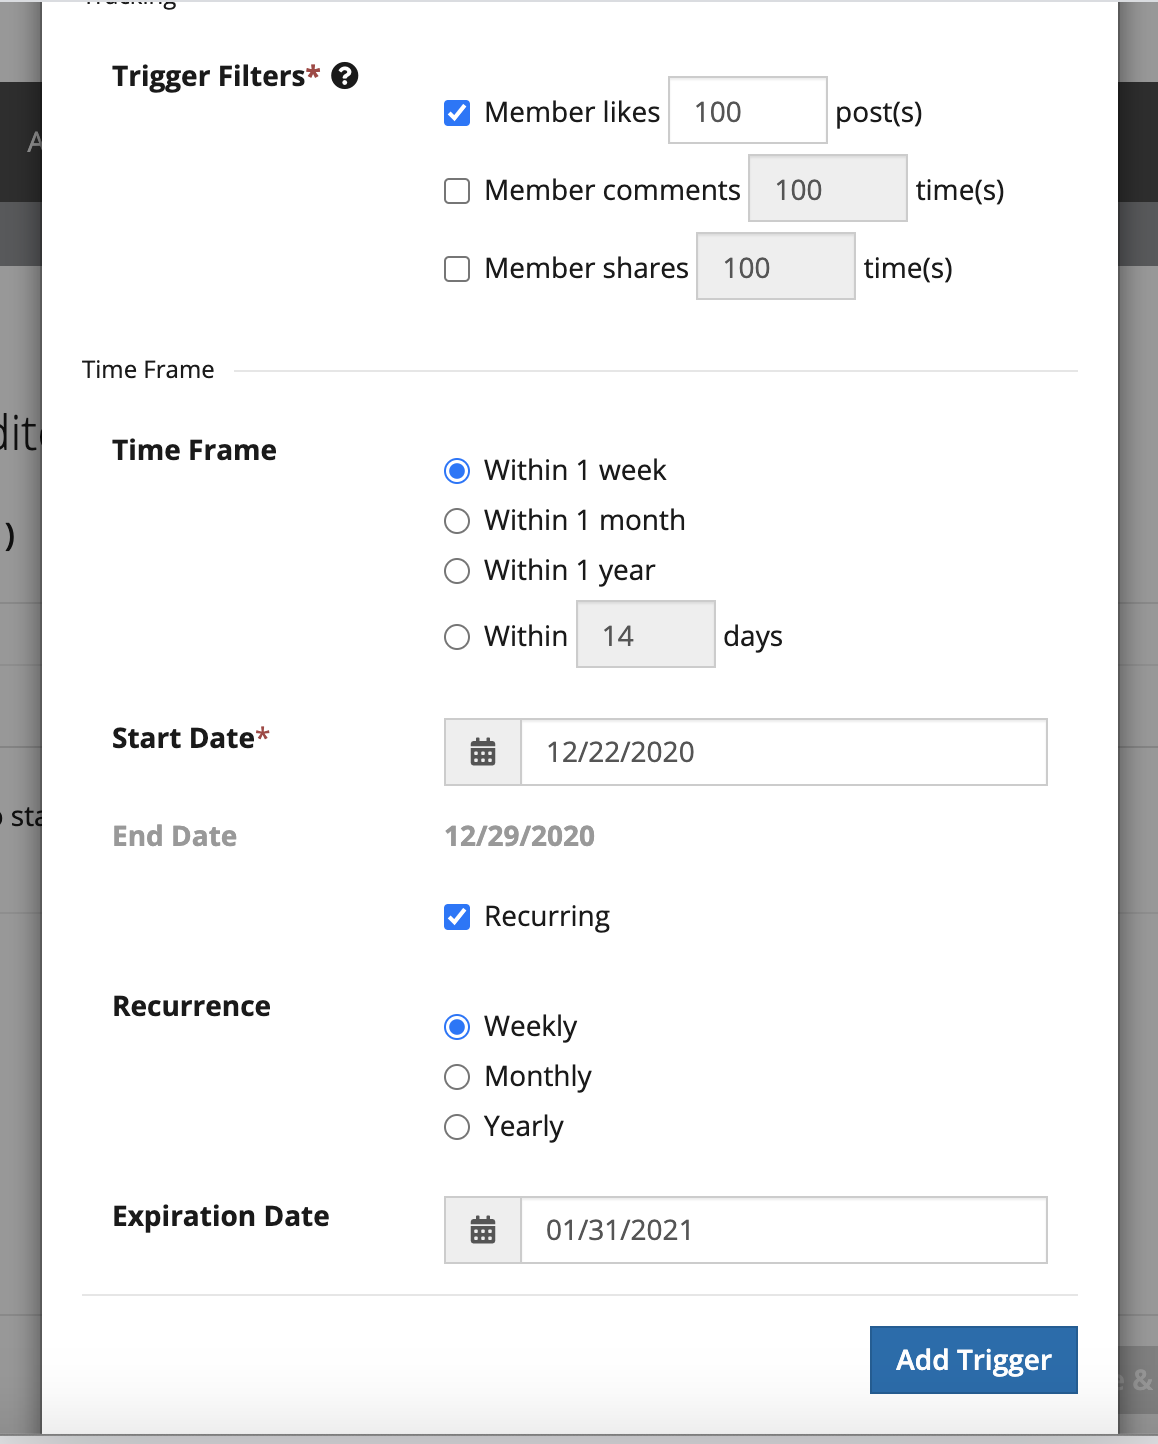
- Recurrence – you can set a workflow to reoccur – but the recurrence length cannot be less than the timeframe of each workflow
Example of a recurring workflow -
In the image below we are creating a recurring workflow that will check if a member likes a 100 posts in a week. So at the end of that week, the workflow will reset and will check for the user to like 100 posts again within the next recurring week. This workflow will continue to recur until 01/31/2021
Actions:
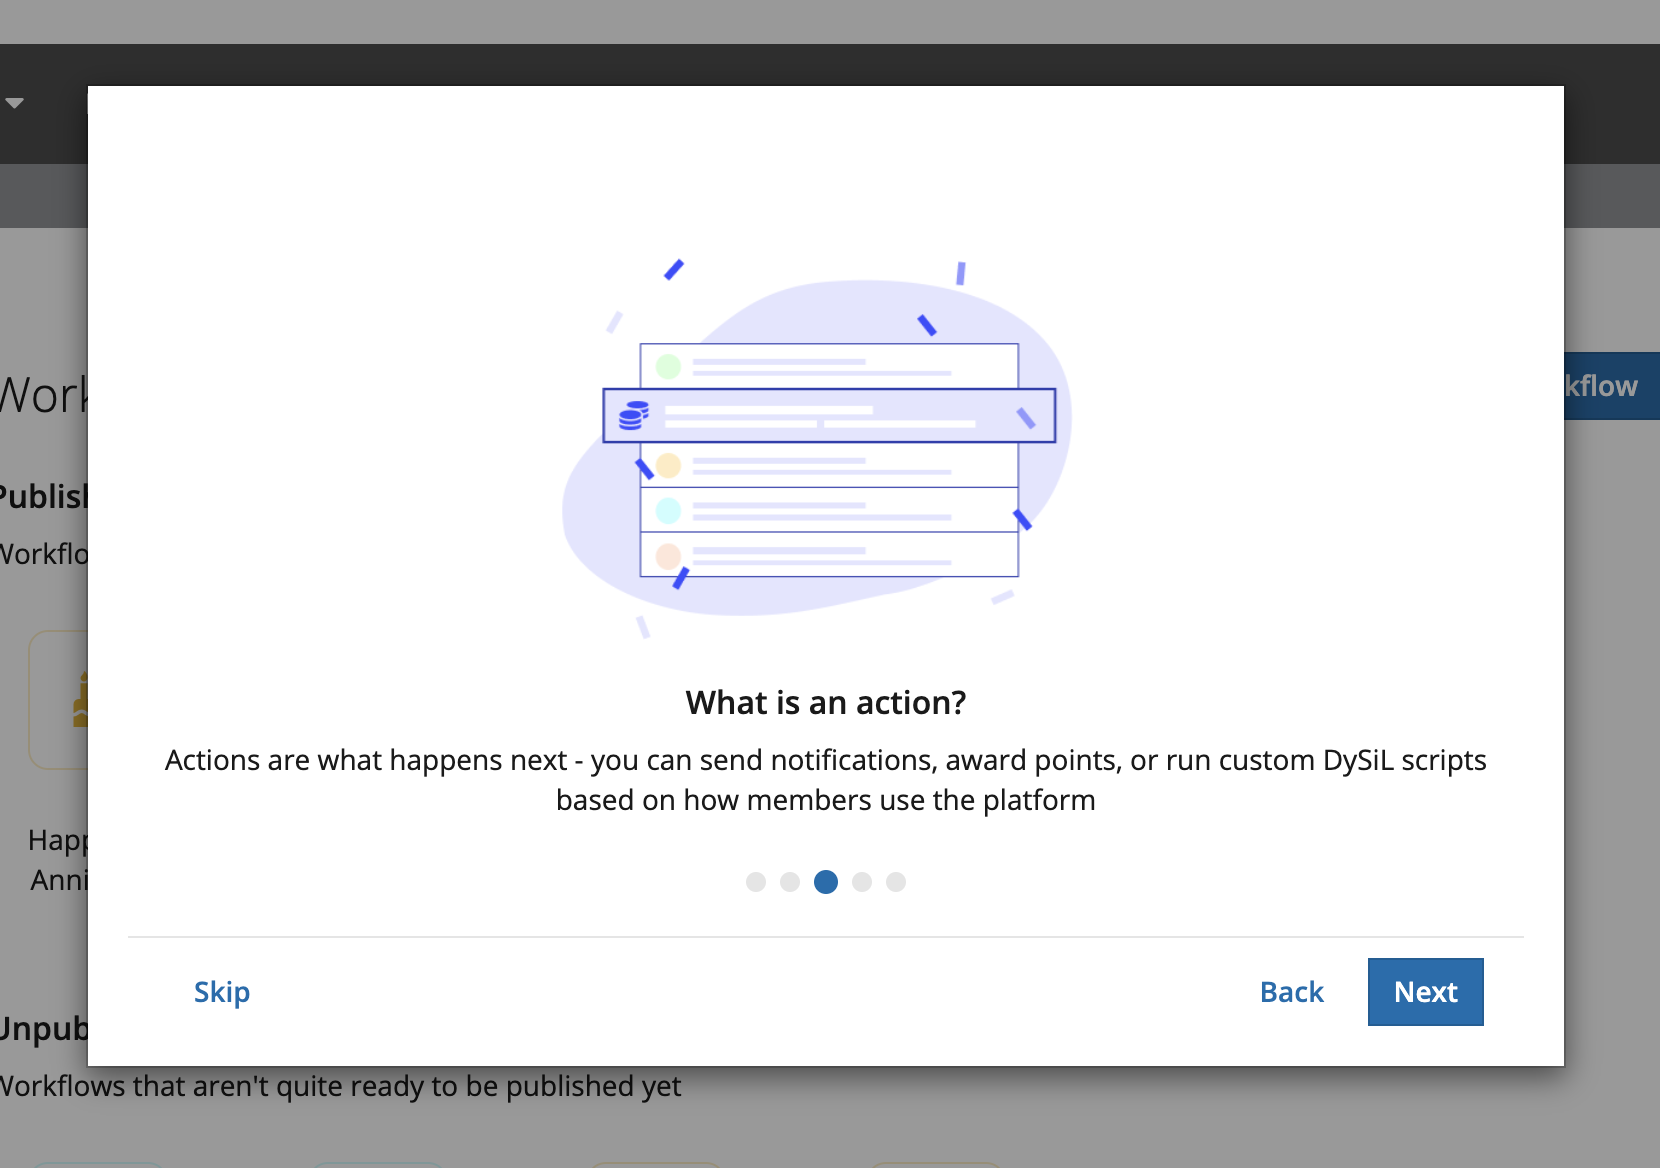
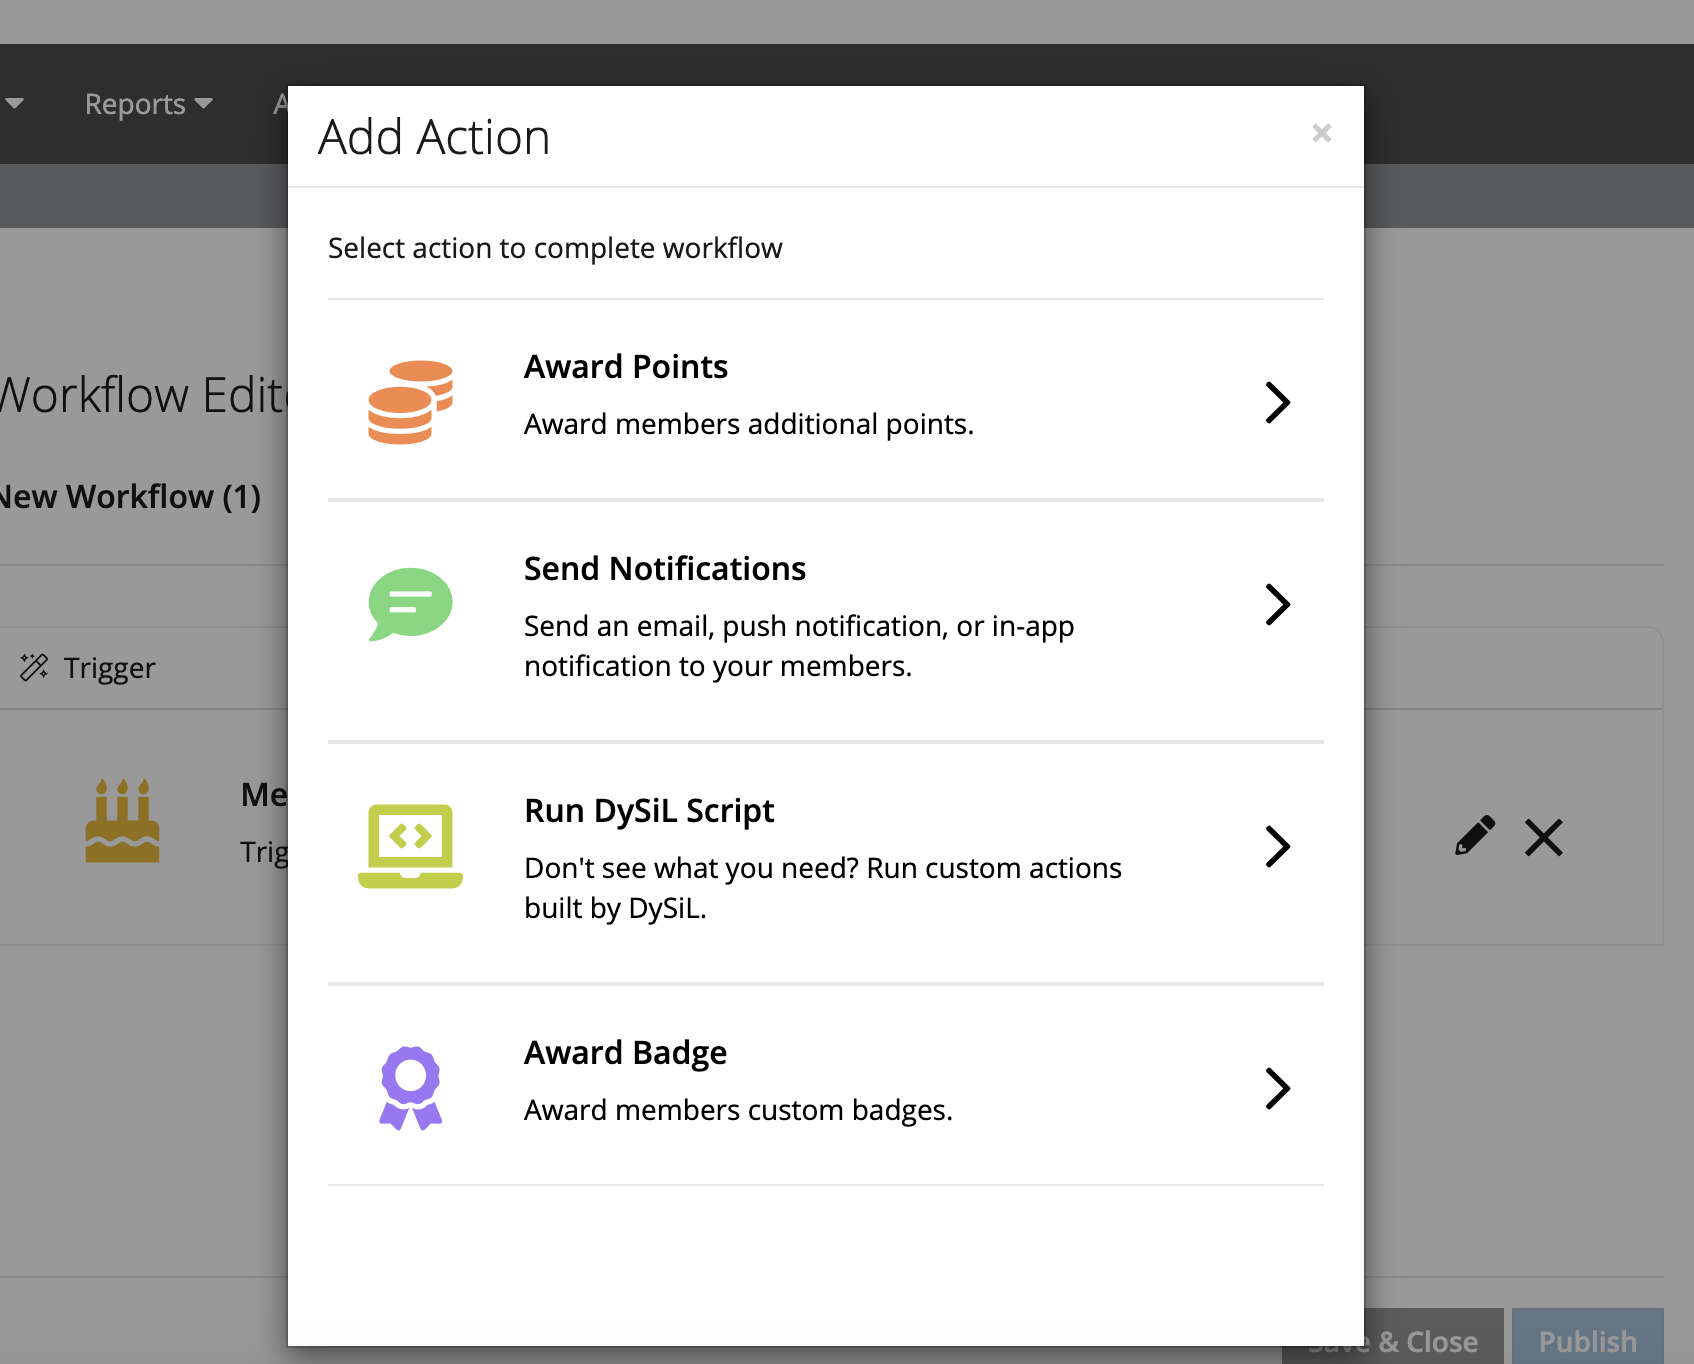
Actions that can be added to triggers to create a workflow–
Award Points in Platform – you can award points to users in the platform if they fulfill the workflow.
Send Notification – you can send in app notification, push or email notification that you can use to tailor your message to users in your community
Award Badge – you can award badges you have already created to users in the platform
Add Dysil Script – you can add Dysil Scripts that are configured
You can add multiple actions to a workflow, but you can only add one trigger.
If you create a badge within the workflow, you will need to refresh the page for the new badge to be viewable for selection in that workflow ( Mac: command + R or Windows: Ctrl + F5)
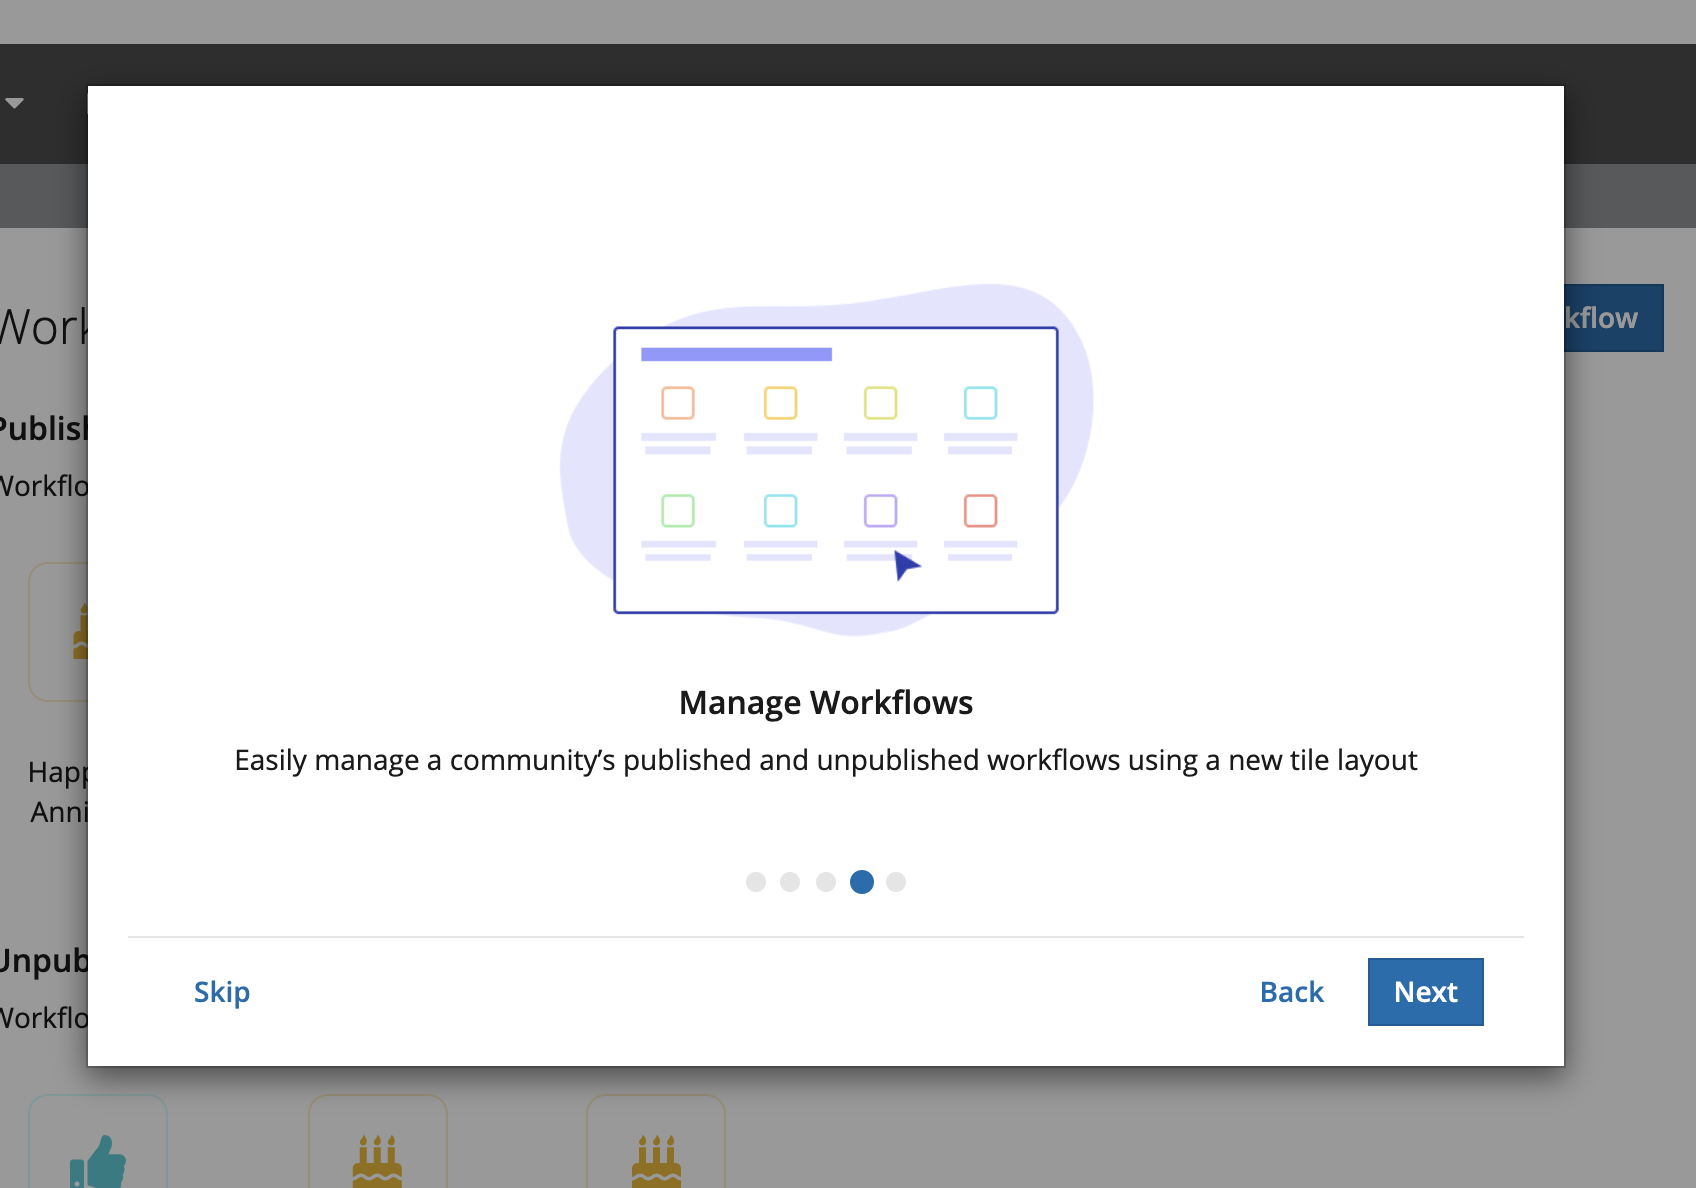
Once you publish your workflows you can manage them from the Home screen. From here you edit, delete and unpublish your workflows as you see fit.
You can also see metadata around a workflow on when it was created by hovering over the workflow tile.
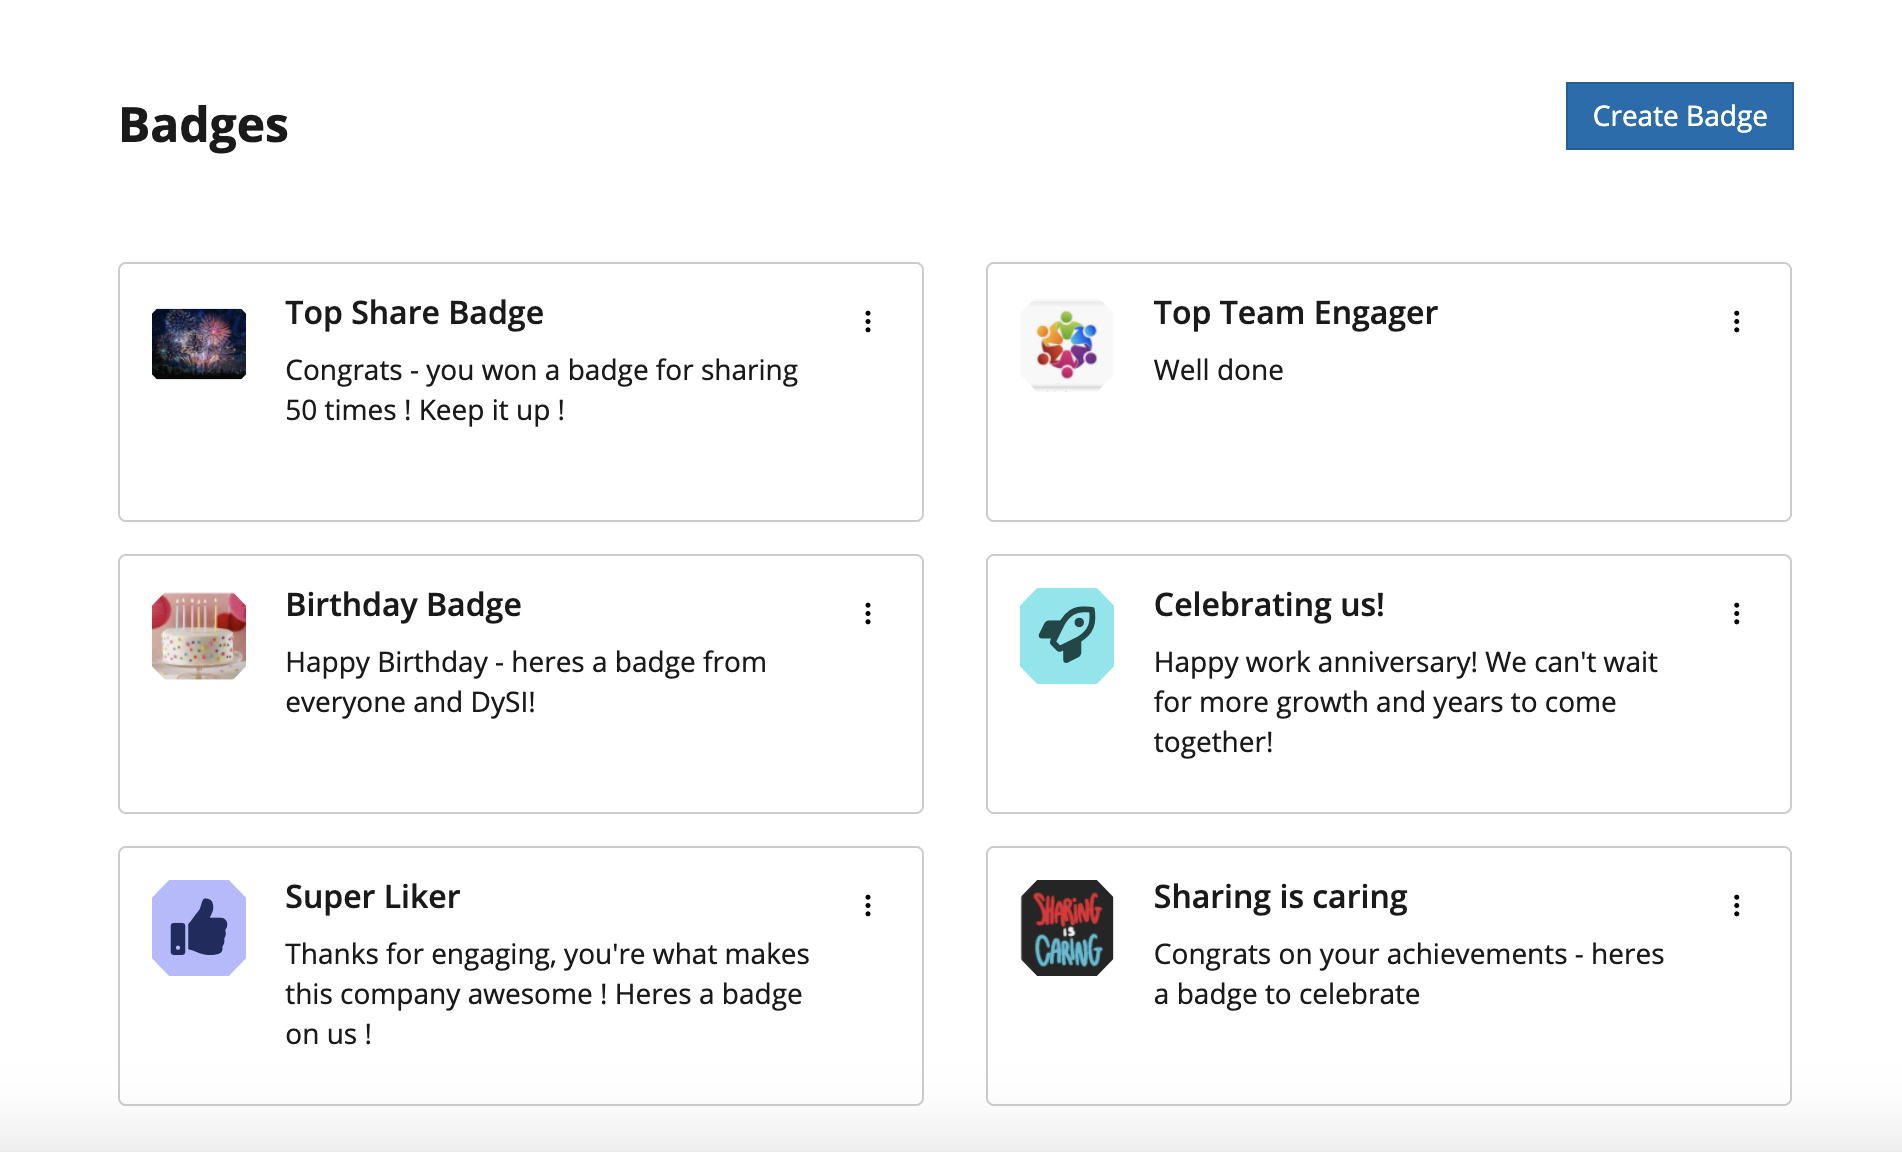
Badges
Ability to create customizable badges that can be awarded to users manually or using Workflow Editor. Awarded badges are discoverable by all members on their profile page in both NMA and mobile experiences. The ability to notify members of awarded badges is also available.
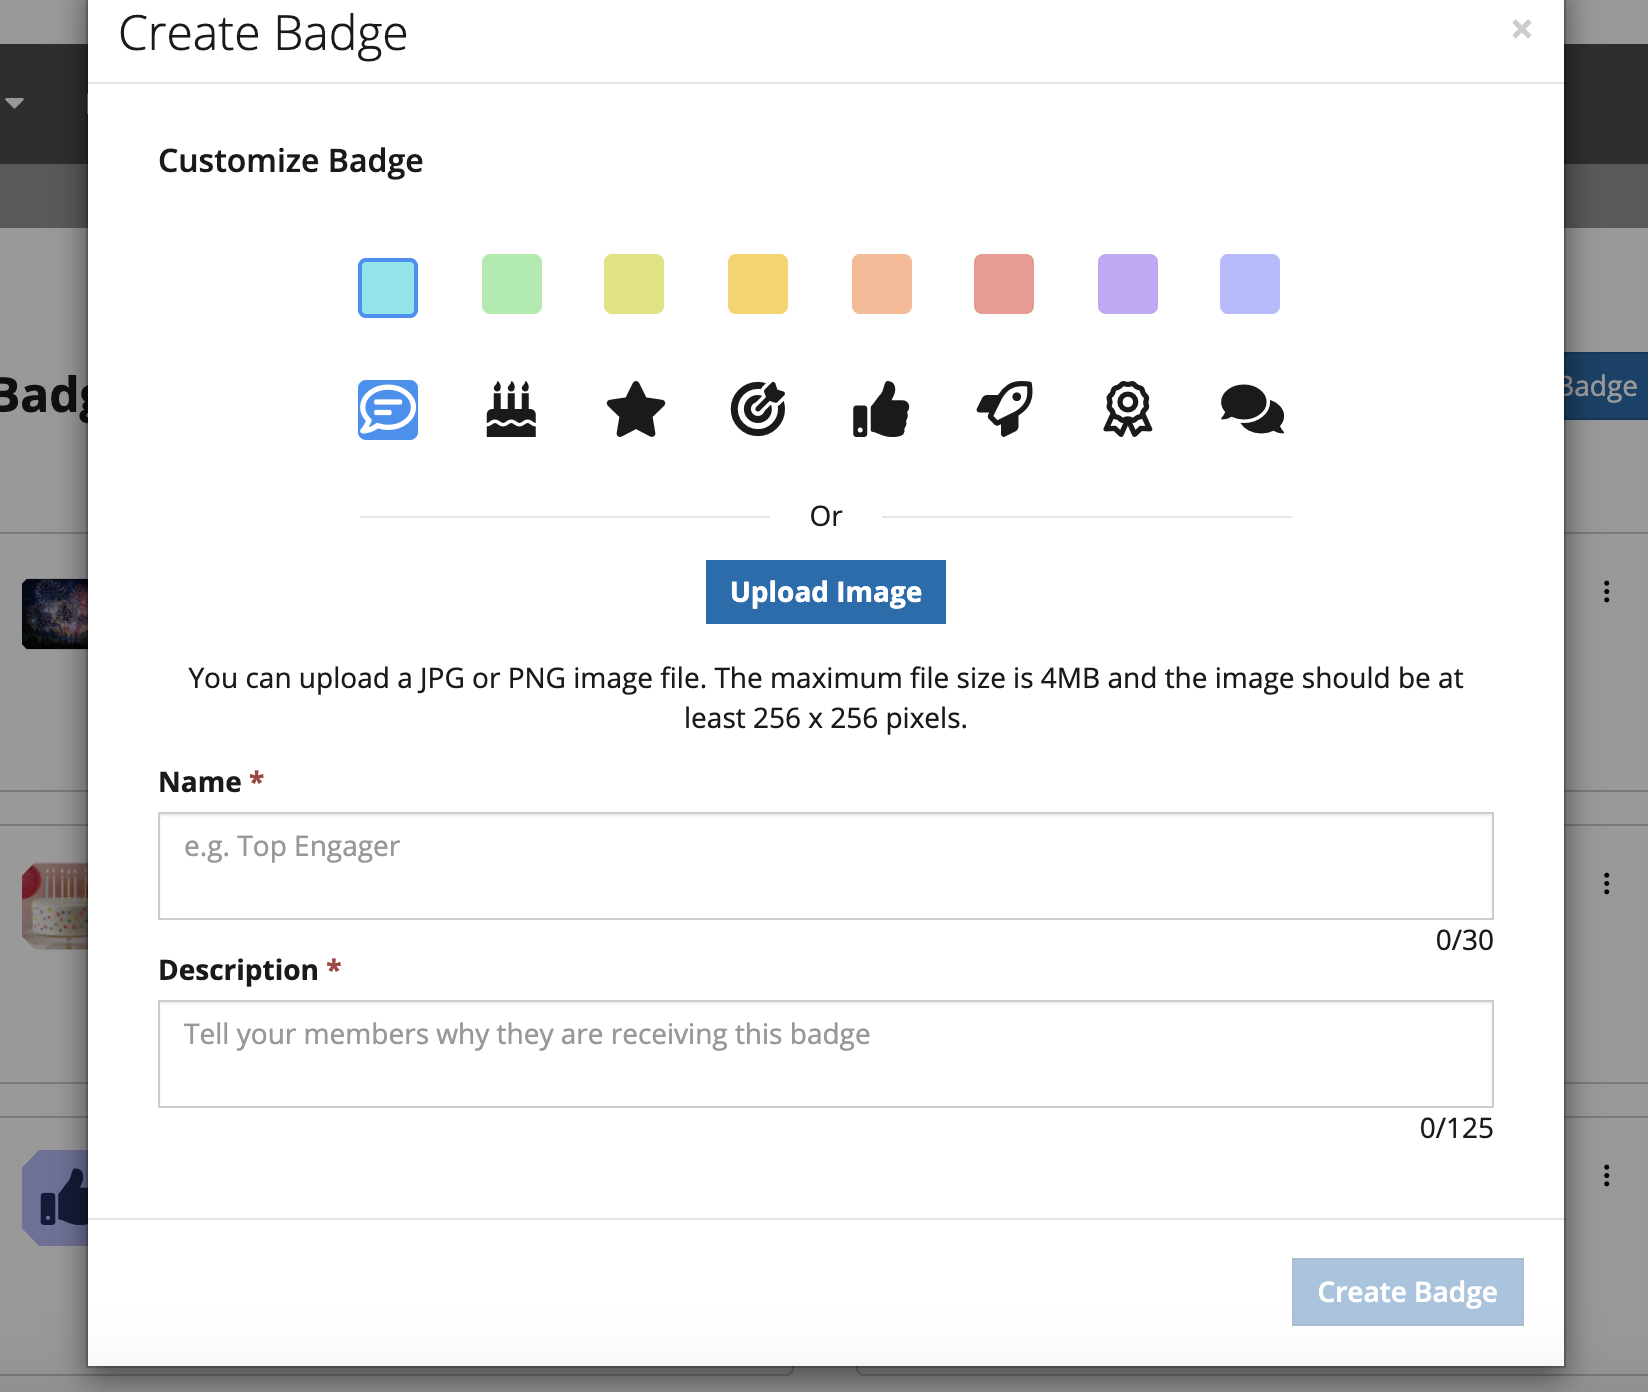
Create a Custom Badge:- Global Managers can create badges. These badges can be used to increase engagement and reward users in the Platform. Member Badges are visible on a user's profile on the NMA, and on both mobile experiences.
Badges can be manually assigned to members via the members list page using the action drop down, or added as part of a workflow. To create a badge, click the ‘create a badge’ button, from here you can either create a badge using the custom colors & icons or upload your own image (up to 4MB). The Name of the badge and the Description is what will be visible on the badge to members.
View The Badges you have Created:
As a Global Manager, you can view and manage the badges you have created from the Badges Home screen. Here you can also edit and delete badges by clicking on the ellipsis inside each badge.